Last month I walked you through the artificial incubation technique I settled on for my Angelfish breeding.
It’s a simple process usually; Angelfish lay their eggs on a tile, which you can then remove and incubate. But what happens when they lay the eggs somewhere else, on something you can’t simply remove and throw in a specimen cup?
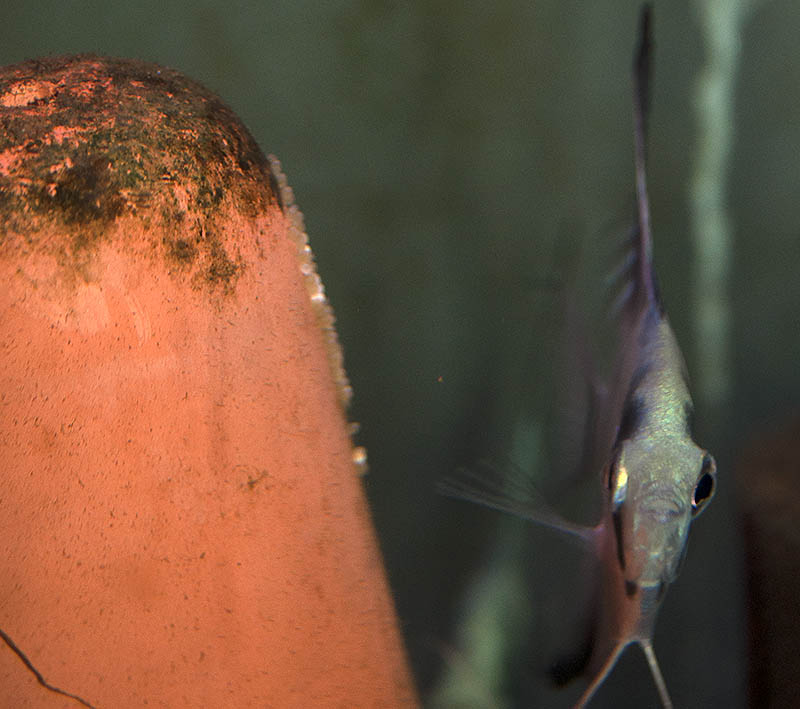
I’ve had Angelfish spawn on Discus cones, filter intakes, sponge filter riser tubes, the glass wall of the tank, and even on the outside of a specimen cup holding another batch of eggs for incubation!
It turns out that these eggs can be salvaged and incubated too, and it’s easier than you think.
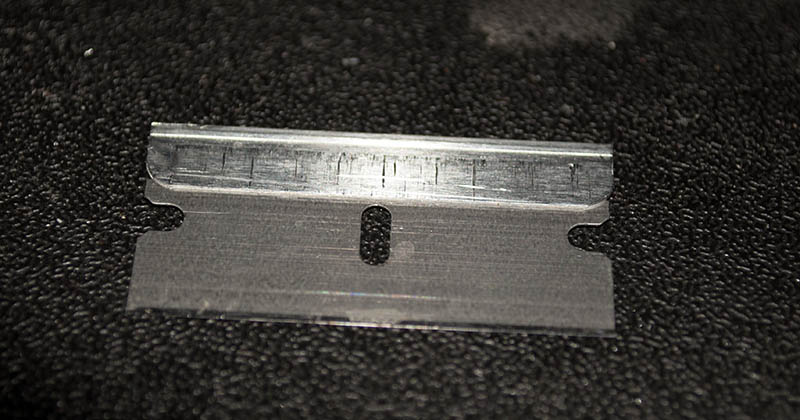
You’ll need a clean, single-edge razor blade (you may wish to sanitize it with hydrogen peroxide).
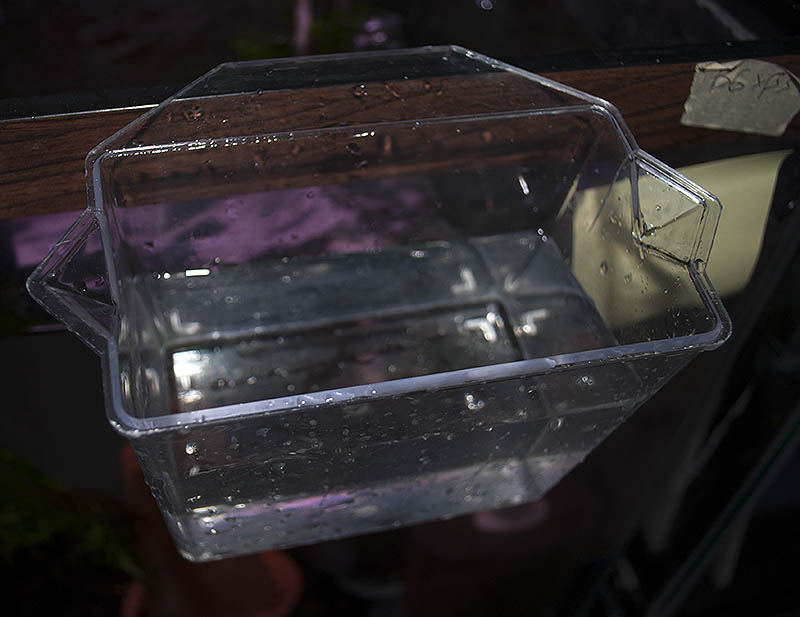
You’ll also need a specimen cup filled with RO/DI water and brought up to the same temperature as the tank with the eggs (you could hang it directly in the tank just like you’d float a bag of fish for temperature equalization).
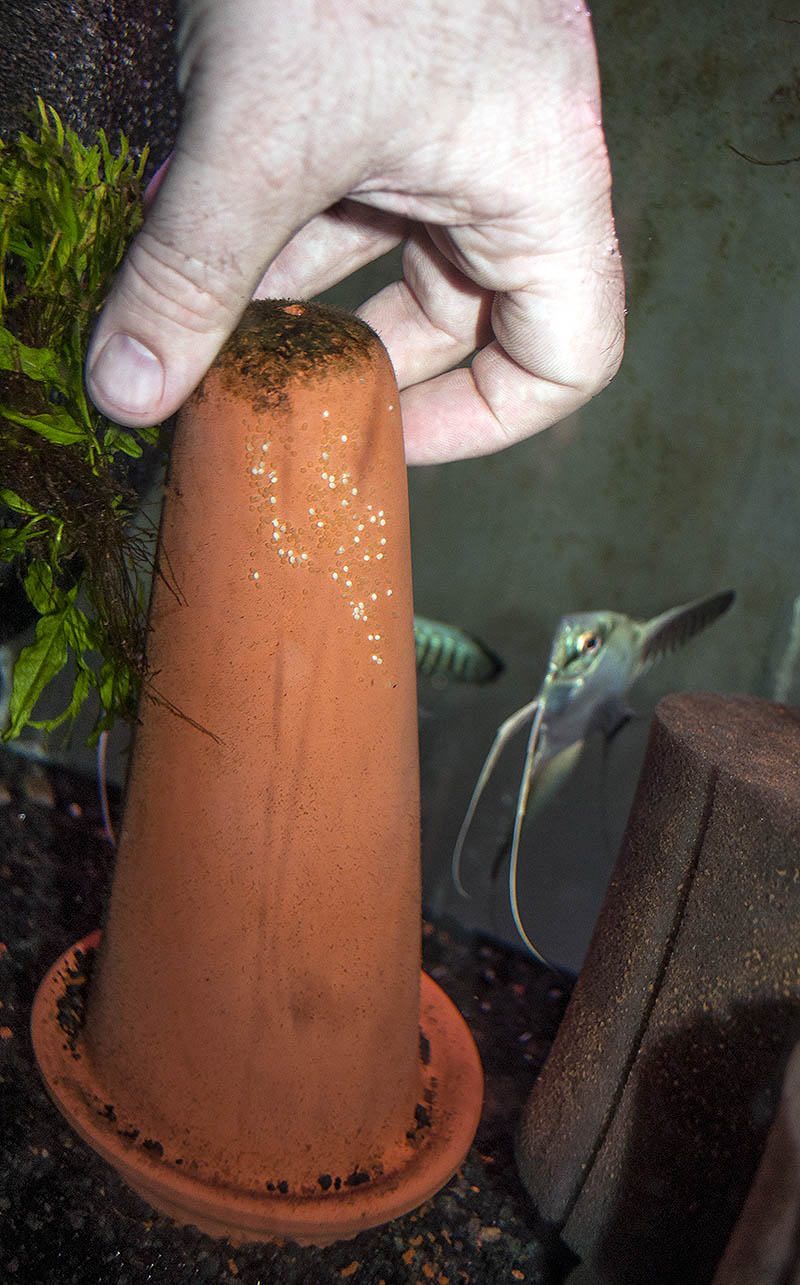
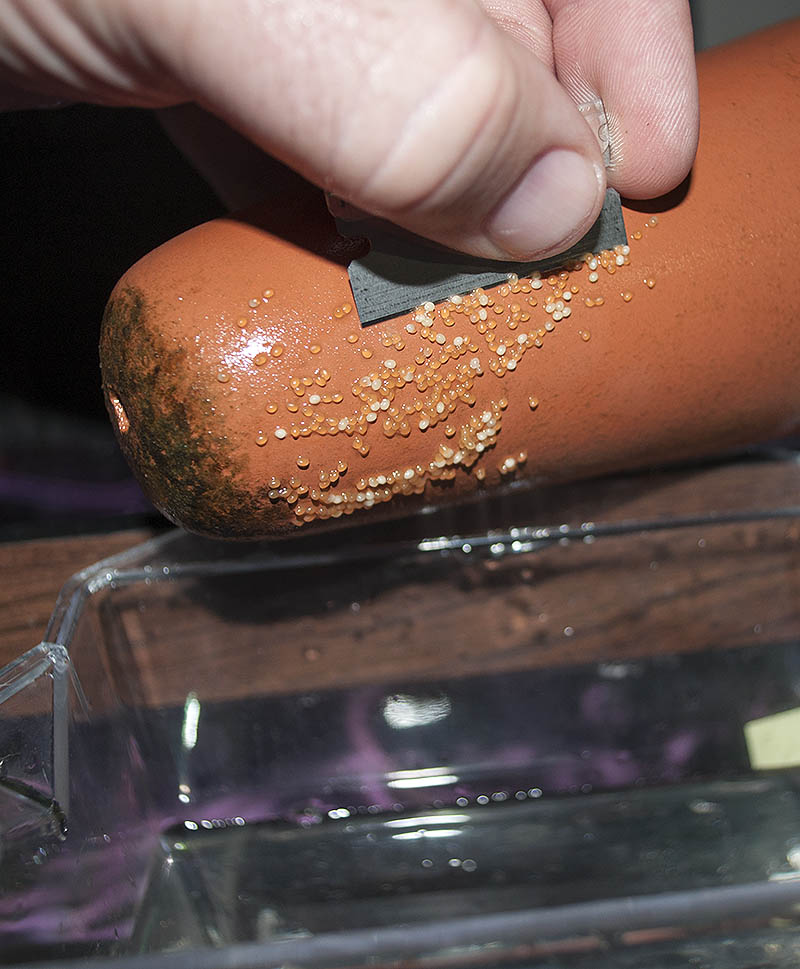
And, of course, you’ll need eggs. For my example here, I’m using eggs that the fish have spawned on a terra-cotta Discus cone. While I could remove it and simply place it in another tank away from the parents, I’d rather start off with the eggs in the specimen cup. Obviously this cone is removable, and many other substrates can be removed from the tank momentarily for the next step of the process.
Once you have the surface with the eggs in hand, you simply need to scrape them off. This is done directly over the specimen cup so that any eggs that drop will fall in. If you have ever used a razor blade to scrape algae off glass, you probably have a rough idea of what to do here already. Simply hold the blade nearly parallel with the substrate, maybe only 10-15 degrees of an angle. Slide right under those eggs and gently sever the bond between egg and substrate.
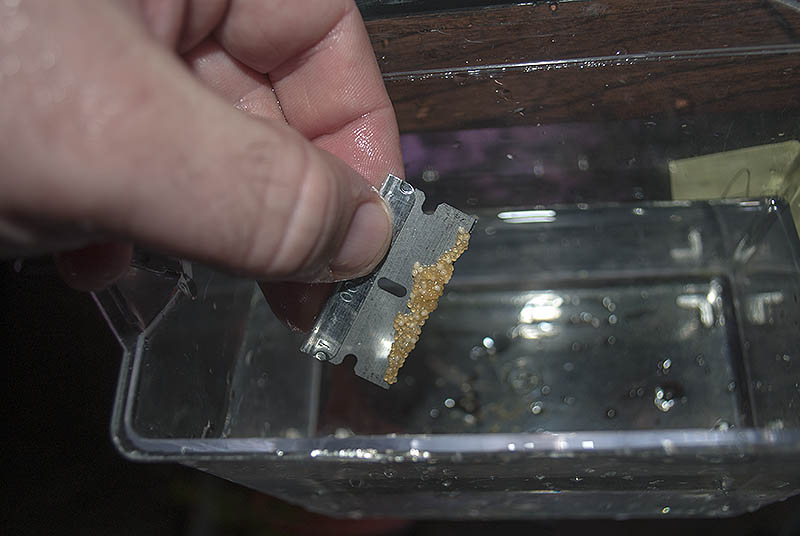
If you do this properly, you won’t break any eggs, and they’ll just accumulate on the razor blade.
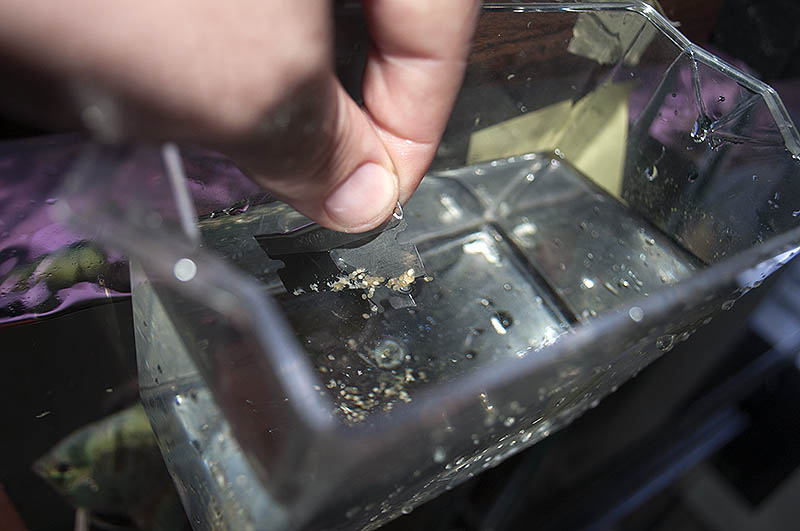
Simply dip the eggs off the blade and into the waiting specimen cup.
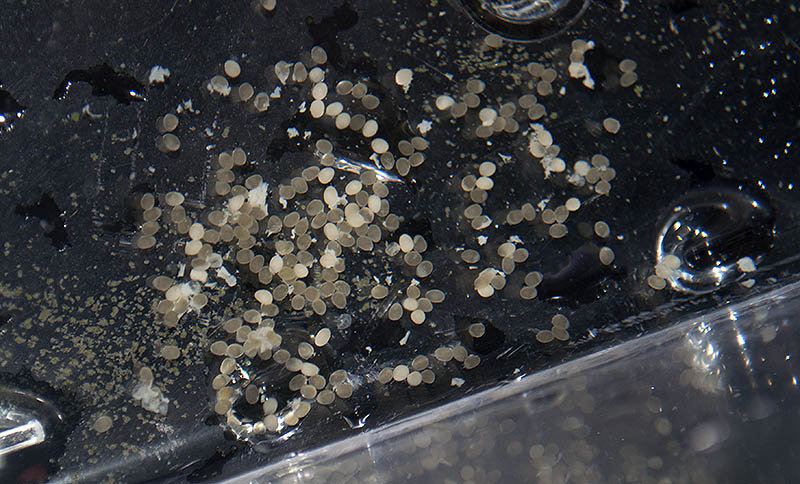
The eggs will sink to the bottom of the cup.
Now, here’s the interesting part—you can even do this underwater, although it is a bit more cumbersome. For eggs laid on the glass of the tank housing the parents, the technique is only slightly different. First, turn off any strong water currents (eg. power filters). Then submerge the specimen cup completely and hold it up against the glass and underneath the nest. Rest the wide flat lip right against the glass. With your other hand, simply scrape the eggs from above so they are removed from the glass and fall downwards in the waiting specimen cup. Once the nest is harvested, simply pour off most of the tank water and replace with RO/DI water of the proper temperature.
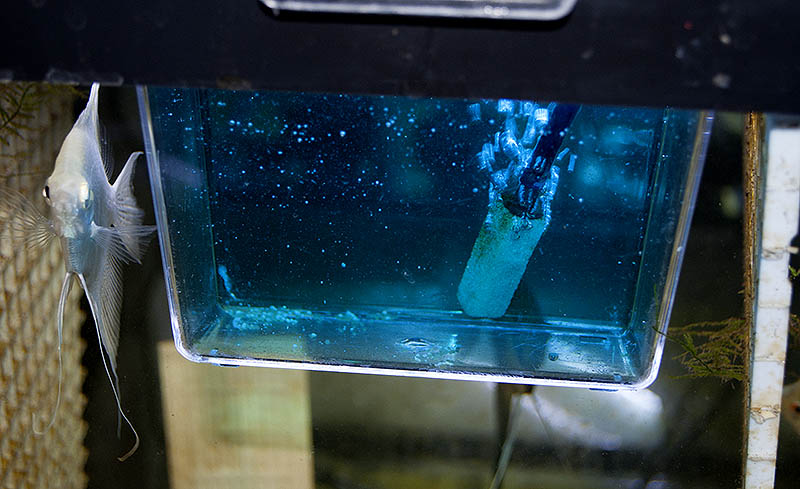
When it’s all done, the final step is no different than my other artificial incubation with the eggs on the tiles. Simply add methylene blue at a rate of roughly 10 drops (0.5 ml) per gallon and introduce a reasonably brisk air feed. The air should be strong enough to keep the water moving well, but not strong enough to move or suspend the eggs in the water column.
Just as before, you’ll quickly learn soon which eggs are viable and which aren’t. I have had very consistent results harvesting eggs in awkward places using this technique, and I hope you do too.
This won’t be the last time we talk about Angelfish hatching and breeding—in a future installment I hope to share a completely different technique employed at a small commercial hatchery, which is proof there are often many ways to approach a problem and be successful.
Further Reading



I salvaged my angle fish eggs and I have them in a floating incubator and I have plenty of emigration for them do how much air should it have